How to Make Your Own Calendar with Photos
 (No Ratings Yet)
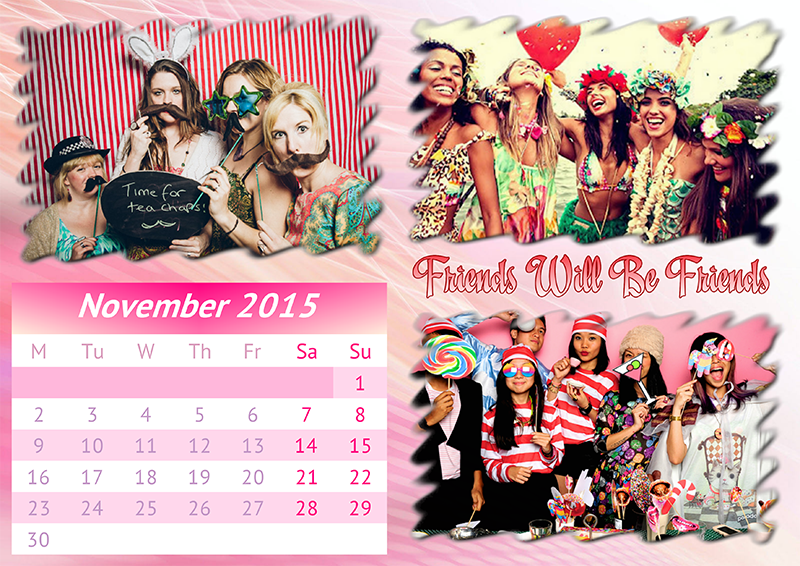
Is there a creative and practical way to enjoy favorite shots all year round? Yes, there is! Make your own calendar with photos and fill your everyday life with awesome memories. For all those who’d like to start every morning with a smile or show off before their friends I’ve prepared a step-by-step guide, presented both as infographics and the written tutorial. Jump on the bandwagon and try your hand at creating engaging personalized calendars!
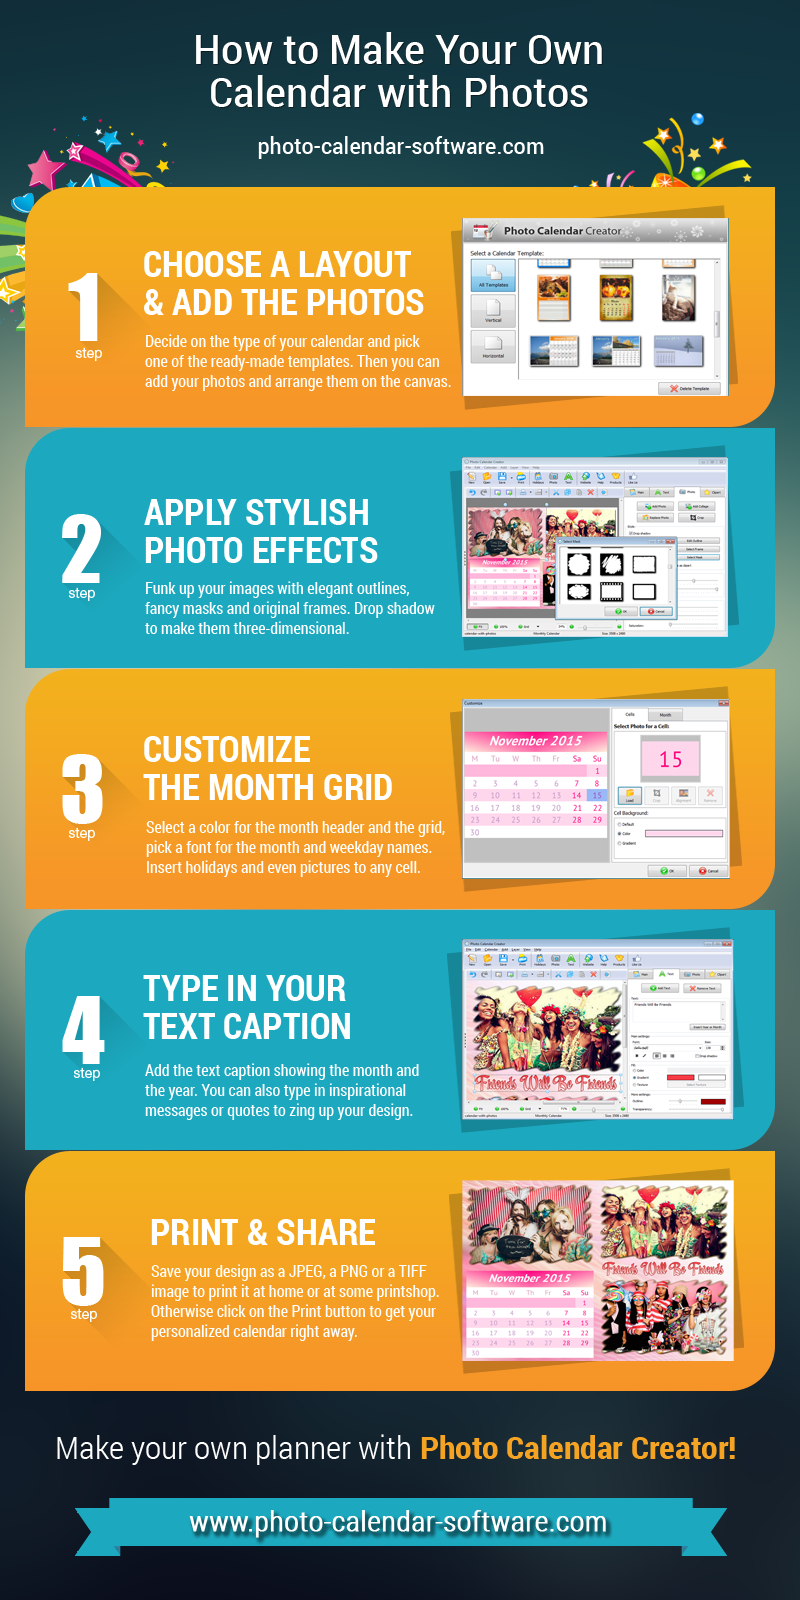
Scroll down the page to find a more detailed text guide that will hopefully provide you with the full-fledged assistance throughout the creative process. Be ready to learn all the ins and outs of the calendar-making art and then share these secret techniques with your inner circle.
Step 1 – Choose a Layout and Add the Photos
First of all, decide on the type of your calendar and pick one of the ready-made templates. Photo Calendar Creator software (demo version available at: http://photo-calendar-software.com) will provide you with samples of wall, desk and pocket calendars for any month or the whole year. Rest assured that all the pre-designed elements can be easily removed or customized. When you’ve chosen the base for your calendar, add photos and favourly arrange them on the canvas.
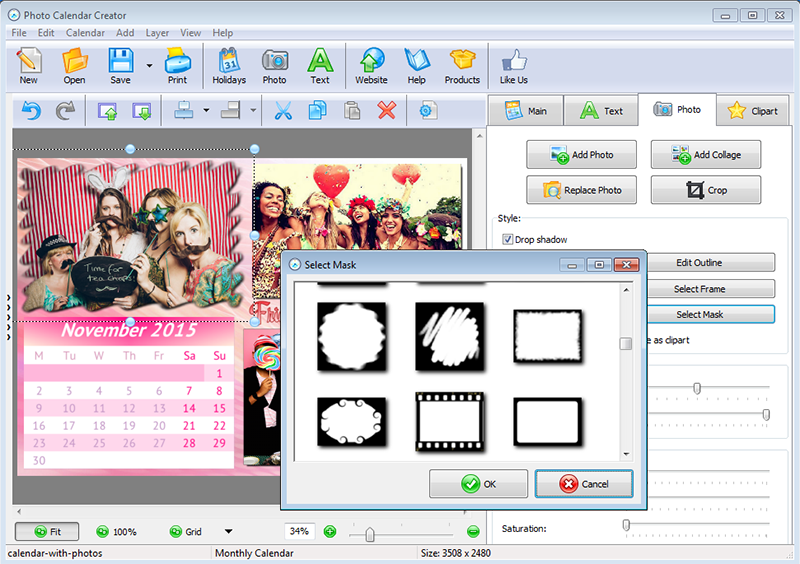
Step 2 – Apply Some Stylish Photo Effects
If you’re determined to make your own calendar with photos, you should reveal your individuality in its design. The surest way to do it is to funk up your images with elegant outlines, fancy masks and original frames. There’s also a small trick to make your images look three-dimensional – just drop a shadow and highlight the chosen picture among the others.
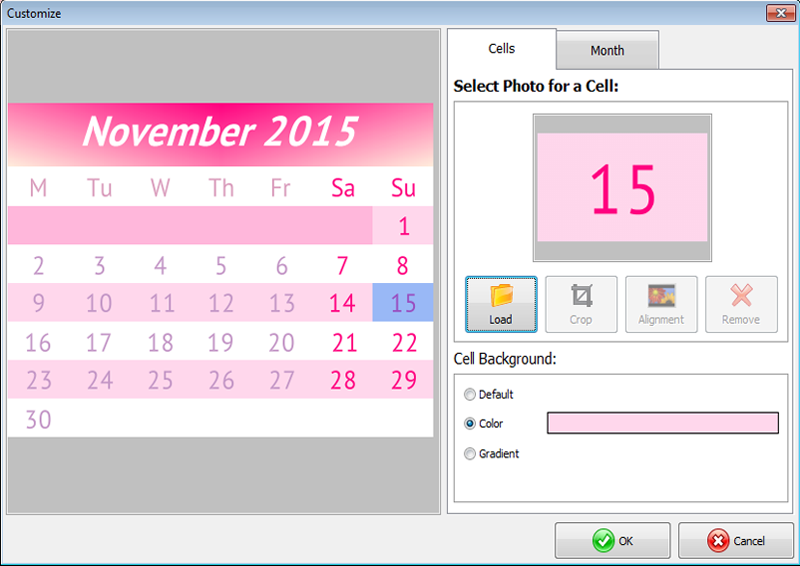
Step 3 – Customize the Month Grid
The month grid is the heart of your calendar, so pay special attention to its customization. Select a color for the month header and the grid, then pick a suitable font for the month, weekday and weekend names. Just don’t forget that these elements should perfectly correlate with the overall style. Another feature that is hardly ever used in retail calendars is an opportunity to insert holidays and even pictures to any cell. Be sure to give it a try!
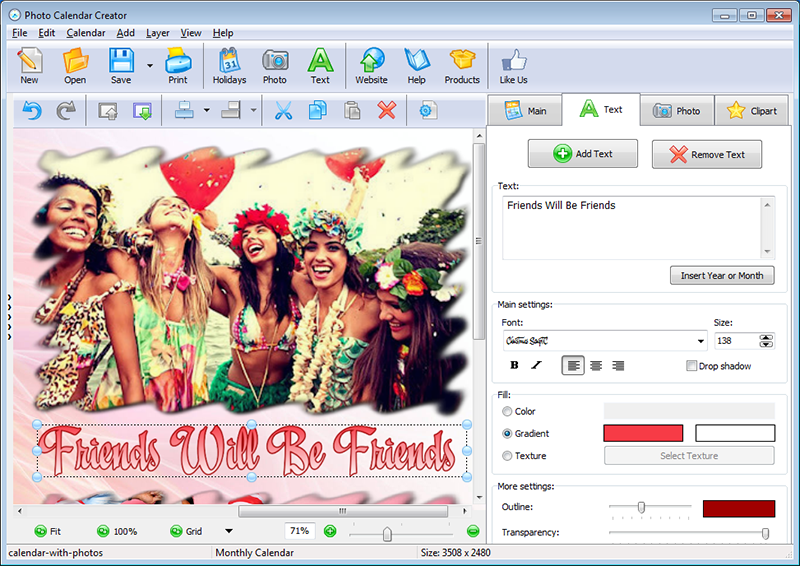
Step 4 – Type In Your Text Caption
Once you’ve switched to the Text tab, add the text caption showing the month and the year. Whatever type of calendar you’ve chosen, this information is crucial. After that you can also type in some inspirational messages or quotes to zing up your calendar. While playing with color and font settings you’ll make your own calendar with photos and cool text.
Step 5 – Save & Print Your Calendar
At last, save your design as a JPEG, a PNG or a TIFF image to print it later at home or at some reputable printshop. Otherwise click on the Print button and get your personalized calendar right away. What’s more, you can print several copies at once and present your unique calendar as an excellent gift to your friends and family members.
Now ball’s in your court and it’s high time to show what you’ve learnt from this tutorial. Make your own calendar with photos, text captions and stylish effects to remind yourself of beautiful moments you’ve once had and really enjoyed. Personalize the way you organize your time with a photo calendar and keep your awesome memories up all year!