Have you ever taken a seemingly perfect picture that turned out to be not so good at the second glance? As you know, it’s extremely difficult to get a great shot in some tourist-invaded spots, and not become photo bombed in the process. If you have a photo of yourself in front of the Leaning Tower of Pisa, you don’t want some strangers ruining the beautiful scenery. So how to remove an object from a picture without cutting its vital parts?
The video lesson above shows you how to erase date stamps, annoying tourists, some wires and power lines that ruin your otherwise perfect shot. Keep on reading this article and you’ll learn how to improve your pictures with http://home-photo-studio.com – an easy-to-use picture editor and unwanted object eraser. Touch up wrinkles and skin blemishes, delete odd objects affecting the photo composition, and get rid of dust spots that were on a camera lens and then were captured in a photo.
Erase Dust Spots from Photos
In order to learn how to remove an object from a picture, you should start with some little imperfections like dust spots on your camera lens that imprinted on the photo you took and smudged it. Using the Clone Stamp tool, you’ll be able to choose the area you want to replicate and put the pixels borrowed from somewhere else over the damaged zone. Since a dust spot is a relatively small flaw, you can remove it with a single touch of a special brush.
Remove Skin Blemishes or Wrinkles
The Clone Stamp tool is great for retouching your face on the photos when there’re still some blemishes that can’t be covered with a make-up. With a few simple gestures you can make nasty red spots vanish as if they were never there. This time you’ll have to use a brush of a smaller size and be careful with choosing suitable colors for each part of your face. Take samples of pixels from healthy skin parts and use them over the blemished ones.

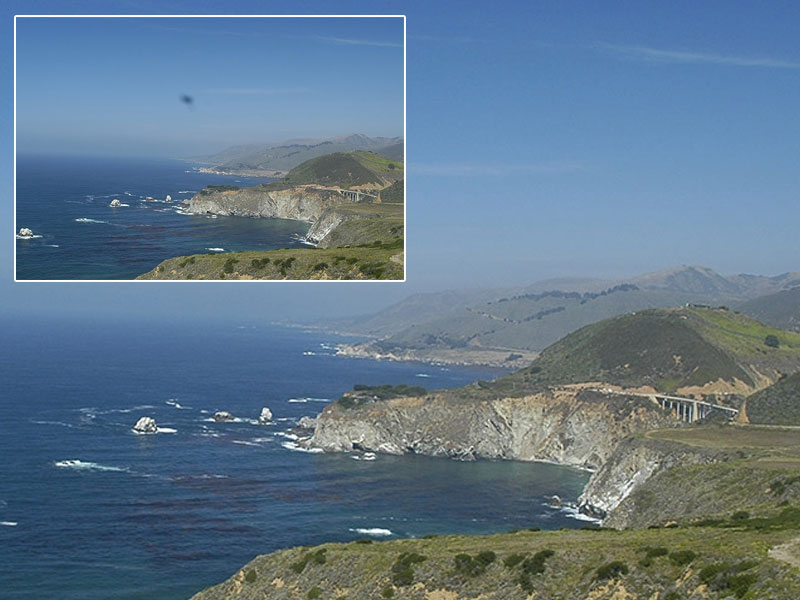
Delete Odd Objects Ruining the Scenery
While learning how to remove an object from a picture, you will face much more challenging tasks than hiding some imperfections. For example, you need to balance out the composition of your image and delete an object that looks odd there. In this case, you’ll have to put new pixels in several layers in order to make the whole area you restored look quite natural. You’ll achieve the best result if you also use the Blur tool over the parts you touched up earlier.
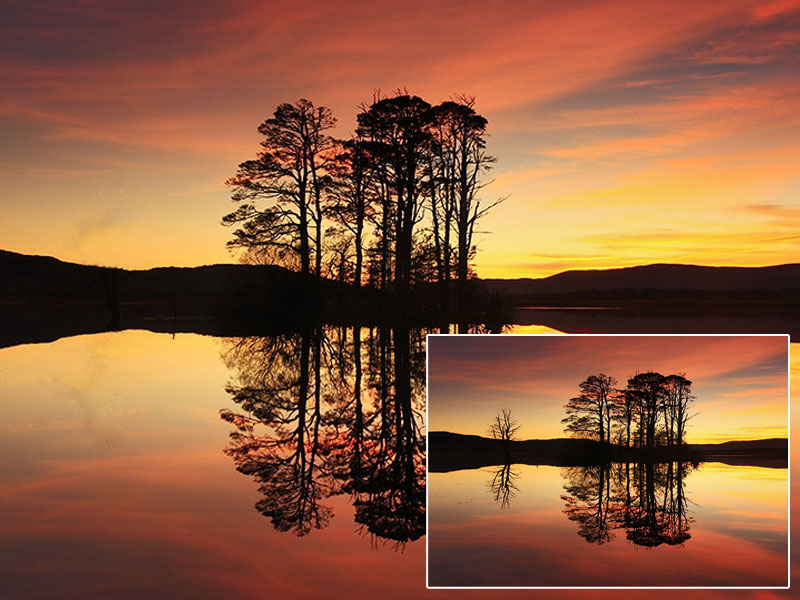
When shooting street photography, rural landscape sceneries, and portrait photos, there can be some distracting elements that steal attention from the things you wanted to capture in the first place. Rather than trash an otherwise awesome photo, learn how to remove an object from a picture and edit out all the undesired elements. Get started with Home Photo Studio software: http://home-photo-studio.com, and you’ll be able to give a new life to your seemingly ruined images in just a few clicks!